RayCluster 快速入门#
本指南向您展示如何在 Kubernetes 上管理和与 Ray 集群交互。
准备工作#
步骤 1:创建 Kubernetes 集群#
此步骤使用 Kind 创建本地 Kubernetes 集群。如果您已有 Kubernetes 集群,可以跳过此步骤。
kind create cluster --image=kindest/node:v1.26.0
步骤 2:部署 KubeRay operator#
按照 本文档 从 Helm 仓库安装最新的稳定版 KubeRay operator。
步骤 3:部署 RayCluster 自定义资源#
KubeRay operator 运行后,即可部署 RayCluster。在 default 命名空间中创建 RayCluster 自定义资源 (CR)。
helm install raycluster kuberay/ray-cluster --version 1.3.0
如果您使用的是 ARM64 (Apple Silicon) 机器,请改为使用 helm install raycluster kuberay/ray-cluster --version 1.3.0 --set 'image.tag=2.41.0-aarch64'。
RayCluster CR 创建后,可以通过运行以下命令查看:
kubectl get rayclusters
NAME                 DESIRED WORKERS   AVAILABLE WORKERS   CPUS   MEMORY   GPUS   STATUS   AGE
raycluster-kuberay   1                 1                   2      3G       0      ready    55s
KubeRay operator 检测到 RayCluster 对象并创建 head 和 worker pod 来启动您的 Ray 集群。要查看 Ray 集群的 pod,请运行以下命令:
# View the pods in the RayCluster named "raycluster-kuberay"
kubectl get pods --selector=ray.io/cluster=raycluster-kuberay
NAME                                          READY   STATUS    RESTARTS   AGE
raycluster-kuberay-head-k7rlq                 1/1     Running   0          56s
raycluster-kuberay-workergroup-worker-65zl8   1/1     Running   0          56s
等待 pod 达到 Running 状态。这可能需要几分钟,大部分时间用于下载 Ray 镜像。如果您的 pod 停留在 Pending 状态,您可以使用 kubectl describe pod raycluster-kuberay-xxxx-xxxxx 检查错误,并确保您的 Docker 资源限制满足要求。
步骤 4:在 RayCluster 上运行应用#
现在,与已部署的 RayCluster 交互。
方法 1:在 head Pod 中执行 Ray 作业#
试用 RayCluster 最直接的方法是直接进入 head pod 执行命令。首先,确定您的 RayCluster 的 head pod:
export HEAD_POD=$(kubectl get pods --selector=ray.io/node-type=head -o custom-columns=POD:metadata.name --no-headers)
echo $HEAD_POD
raycluster-kuberay-head-k7rlq
# Print the cluster resources.
kubectl exec -it $HEAD_POD -- python -c "import pprint; import ray; ray.init(); pprint.pprint(ray.cluster_resources(), sort_dicts=True)"
2025-03-18 01:27:48,692	INFO worker.py:1514 -- Using address 127.0.0.1:6379 set in the environment variable RAY_ADDRESS
2025-03-18 01:27:48,692	INFO worker.py:1654 -- Connecting to existing Ray cluster at address: 10.244.0.6:6379...
2025-03-18 01:27:48,699	INFO worker.py:1832 -- Connected to Ray cluster. View the dashboard at 10.244.0.6:8265
{'CPU': 2.0,
 'memory': 3000000000.0,
 'node:10.244.0.6': 1.0,
 'node:10.244.0.7': 1.0,
 'node:__internal_head__': 1.0,
 'object_store_memory': 749467238.0}
方法 2:使用 Ray 作业提交 SDK 向 RayCluster 提交 Ray 作业#
与方法 1 不同,此方法无需在 Ray head pod 中执行命令。相反,您可以使用 Ray 作业提交 SDK 通过 Ray Dashboard 端口(Ray 监听作业请求的端口)向 RayCluster 提交 Ray 作业。KubeRay operator 配置了一个指向 Ray head Pod 的 Kubernetes Service。
kubectl get service raycluster-kuberay-head-svc
NAME                          TYPE        CLUSTER-IP   EXTERNAL-IP   PORT(S)                                         AGE
raycluster-kuberay-head-svc   ClusterIP   None         <none>        10001/TCP,8265/TCP,6379/TCP,8080/TCP,8000/TCP   57s
现在服务名称已可用,使用端口转发访问 Ray Dashboard 端口,默认为 8265。
# Execute this in a separate shell.
kubectl port-forward service/raycluster-kuberay-head-svc 8265:8265 > /dev/null &
现在 Dashboard 端口已可访问,向 RayCluster 提交作业:
# The following job's logs will show the Ray cluster's total resource capacity, including 2 CPUs.
ray job submit --address https://:8265 -- python -c "import pprint; import ray; ray.init(); pprint.pprint(ray.cluster_resources(), sort_dicts=True)"
Job submission server address: https://:8265

-------------------------------------------------------
Job 'raysubmit_8vJ7dKqYrWKbd17i' submitted successfully
-------------------------------------------------------

Next steps
  Query the logs of the job:
    ray job logs raysubmit_8vJ7dKqYrWKbd17i
  Query the status of the job:
    ray job status raysubmit_8vJ7dKqYrWKbd17i
  Request the job to be stopped:
    ray job stop raysubmit_8vJ7dKqYrWKbd17i

Tailing logs until the job exits (disable with --no-wait):
2025-03-18 01:27:51,014	INFO job_manager.py:530 -- Runtime env is setting up.
2025-03-18 01:27:51,744	INFO worker.py:1514 -- Using address 10.244.0.6:6379 set in the environment variable RAY_ADDRESS
2025-03-18 01:27:51,744	INFO worker.py:1654 -- Connecting to existing Ray cluster at address: 10.244.0.6:6379...
2025-03-18 01:27:51,750	INFO worker.py:1832 -- Connected to Ray cluster. View the dashboard at 10.244.0.6:8265
{'CPU': 2.0,
 'memory': 3000000000.0,
 'node:10.244.0.6': 1.0,
 'node:10.244.0.7': 1.0,
 'node:__internal_head__': 1.0,
 'object_store_memory': 749467238.0}

------------------------------------------
Job 'raysubmit_8vJ7dKqYrWKbd17i' succeeded
------------------------------------------
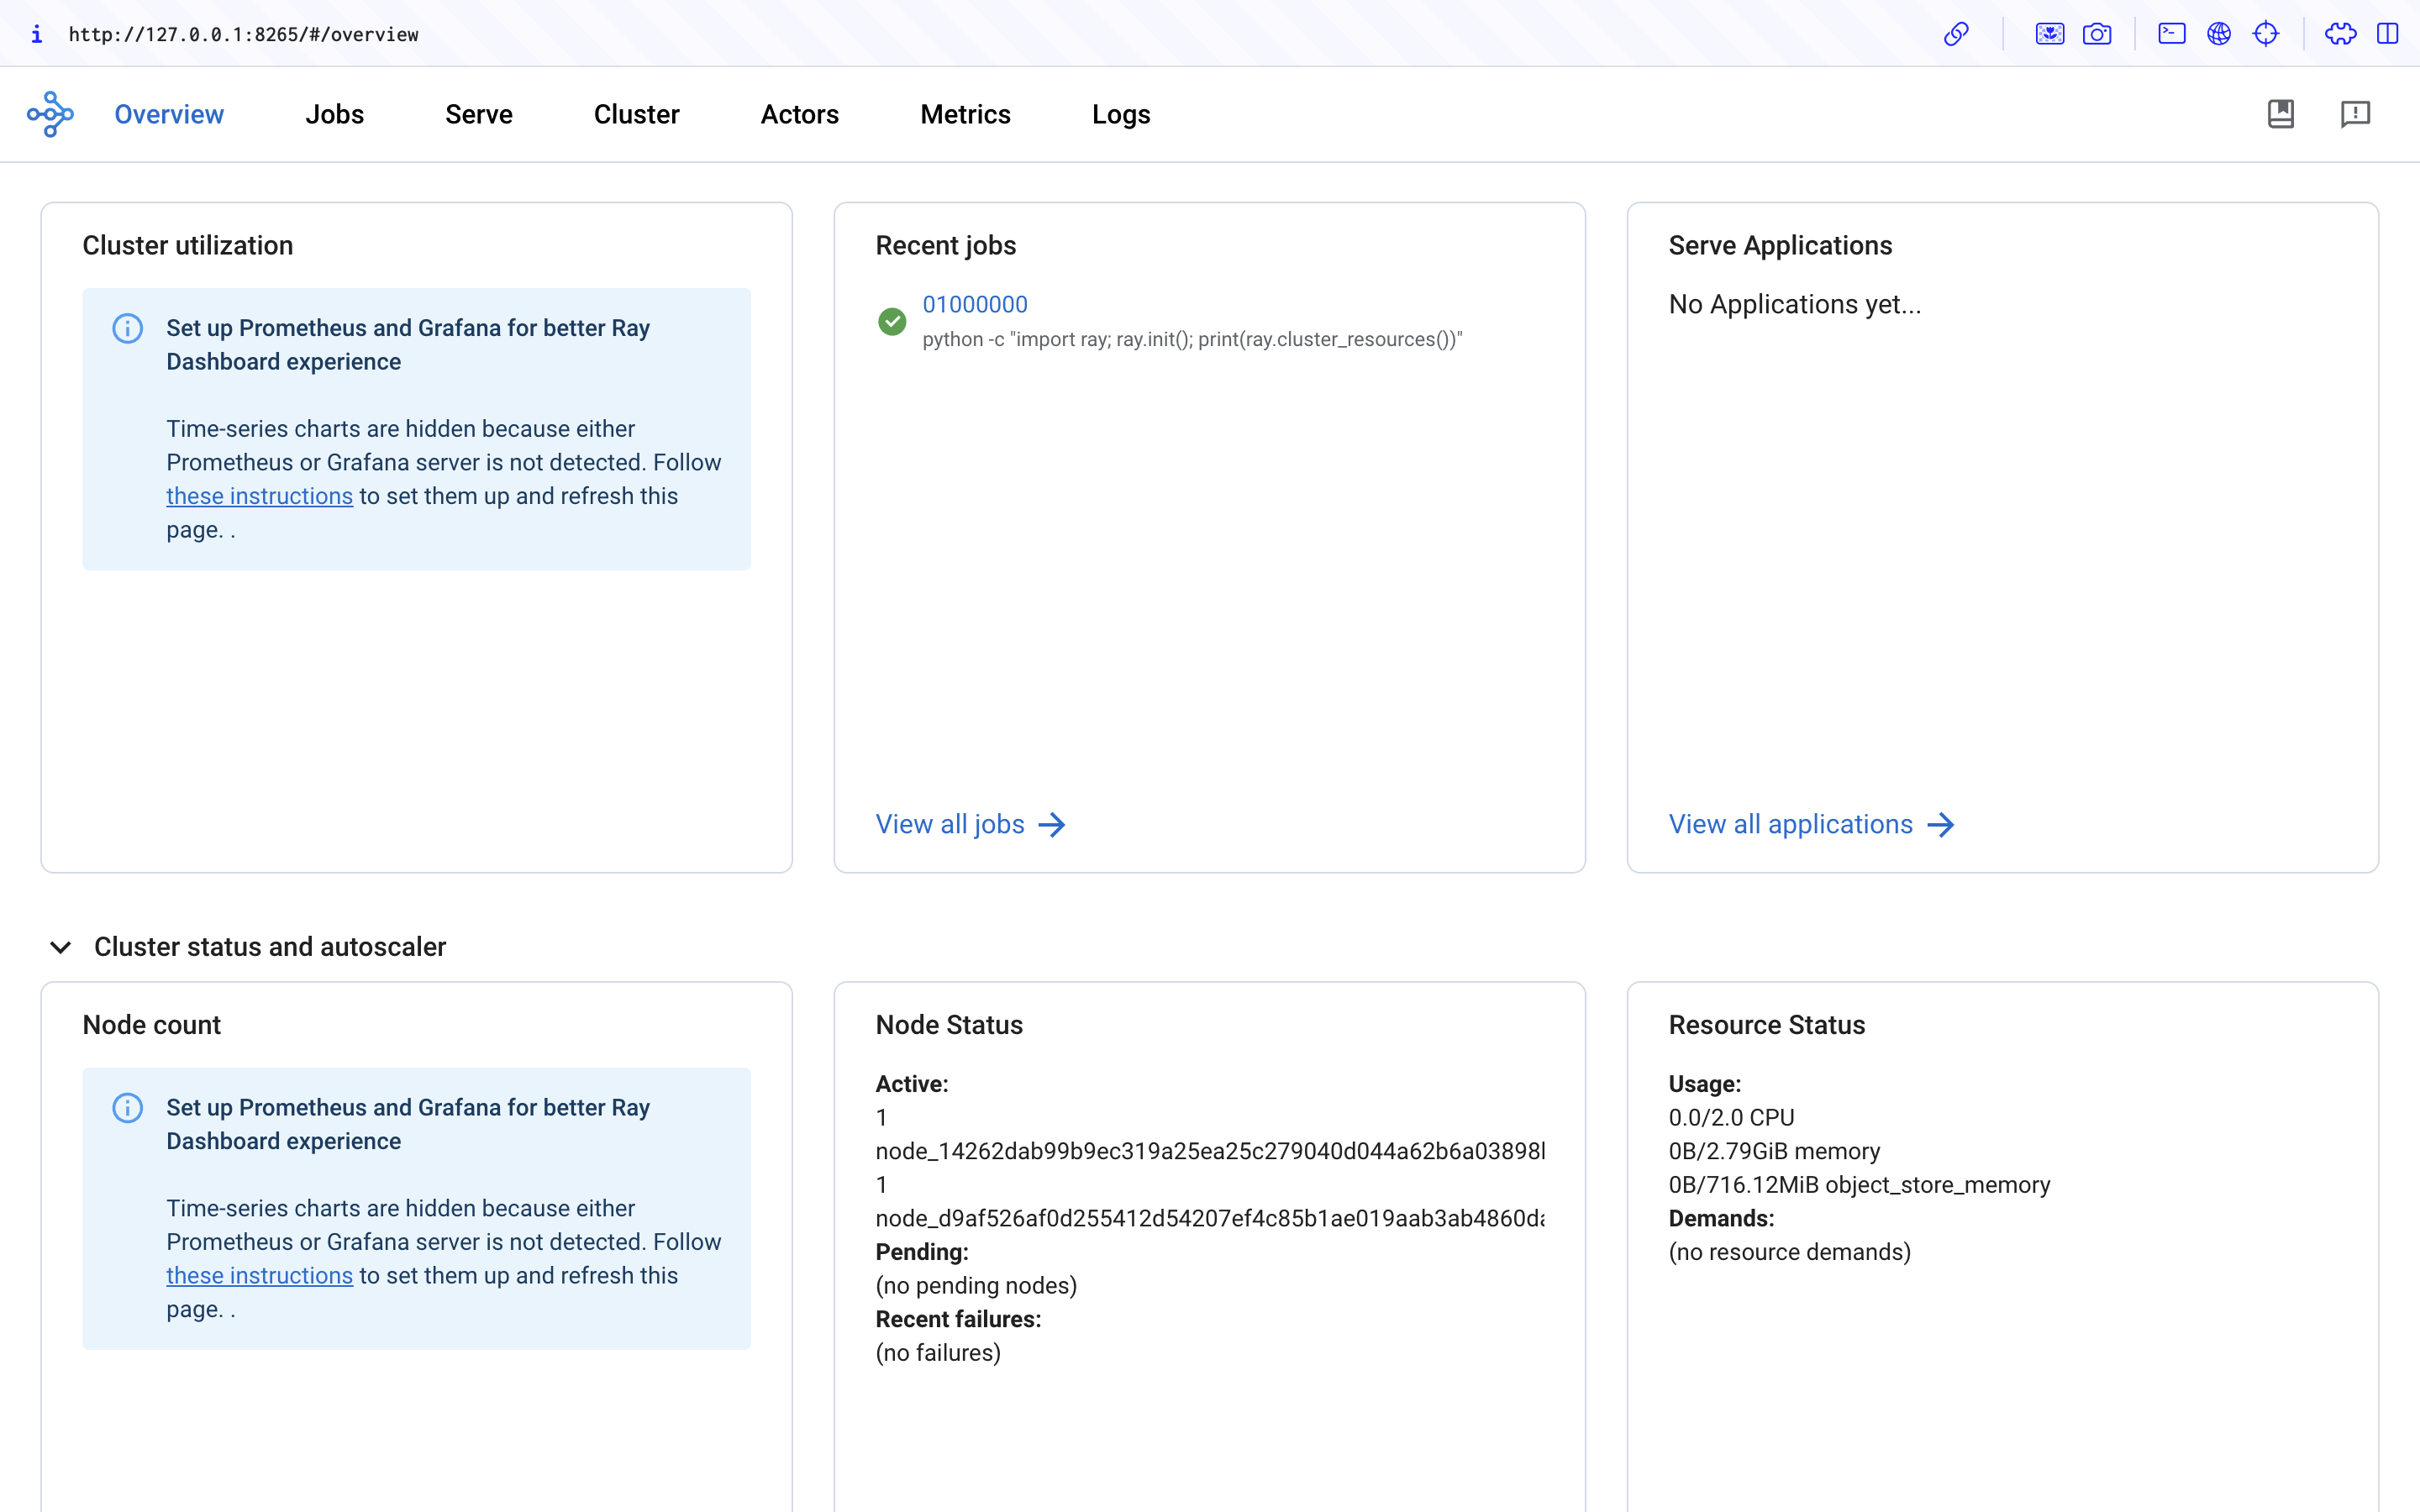
步骤 5:访问 Ray Dashboard#
在浏览器中访问 ${YOUR_IP}:8265 以访问 Dashboard。例如 127.0.0.1:8265。在 Recent jobs 面板中查看您在步骤 4 中提交的作业,如下所示。
步骤 6:清理#
# Kill the `kubectl port-forward` background job in the earlier step
killall kubectl
kind delete cluster